Field Notes
The Miyawaki Method step by step
A simplified step by step look at the Miyawaki method for creating dense, diverse pockets of native forest.
1) Species selection:
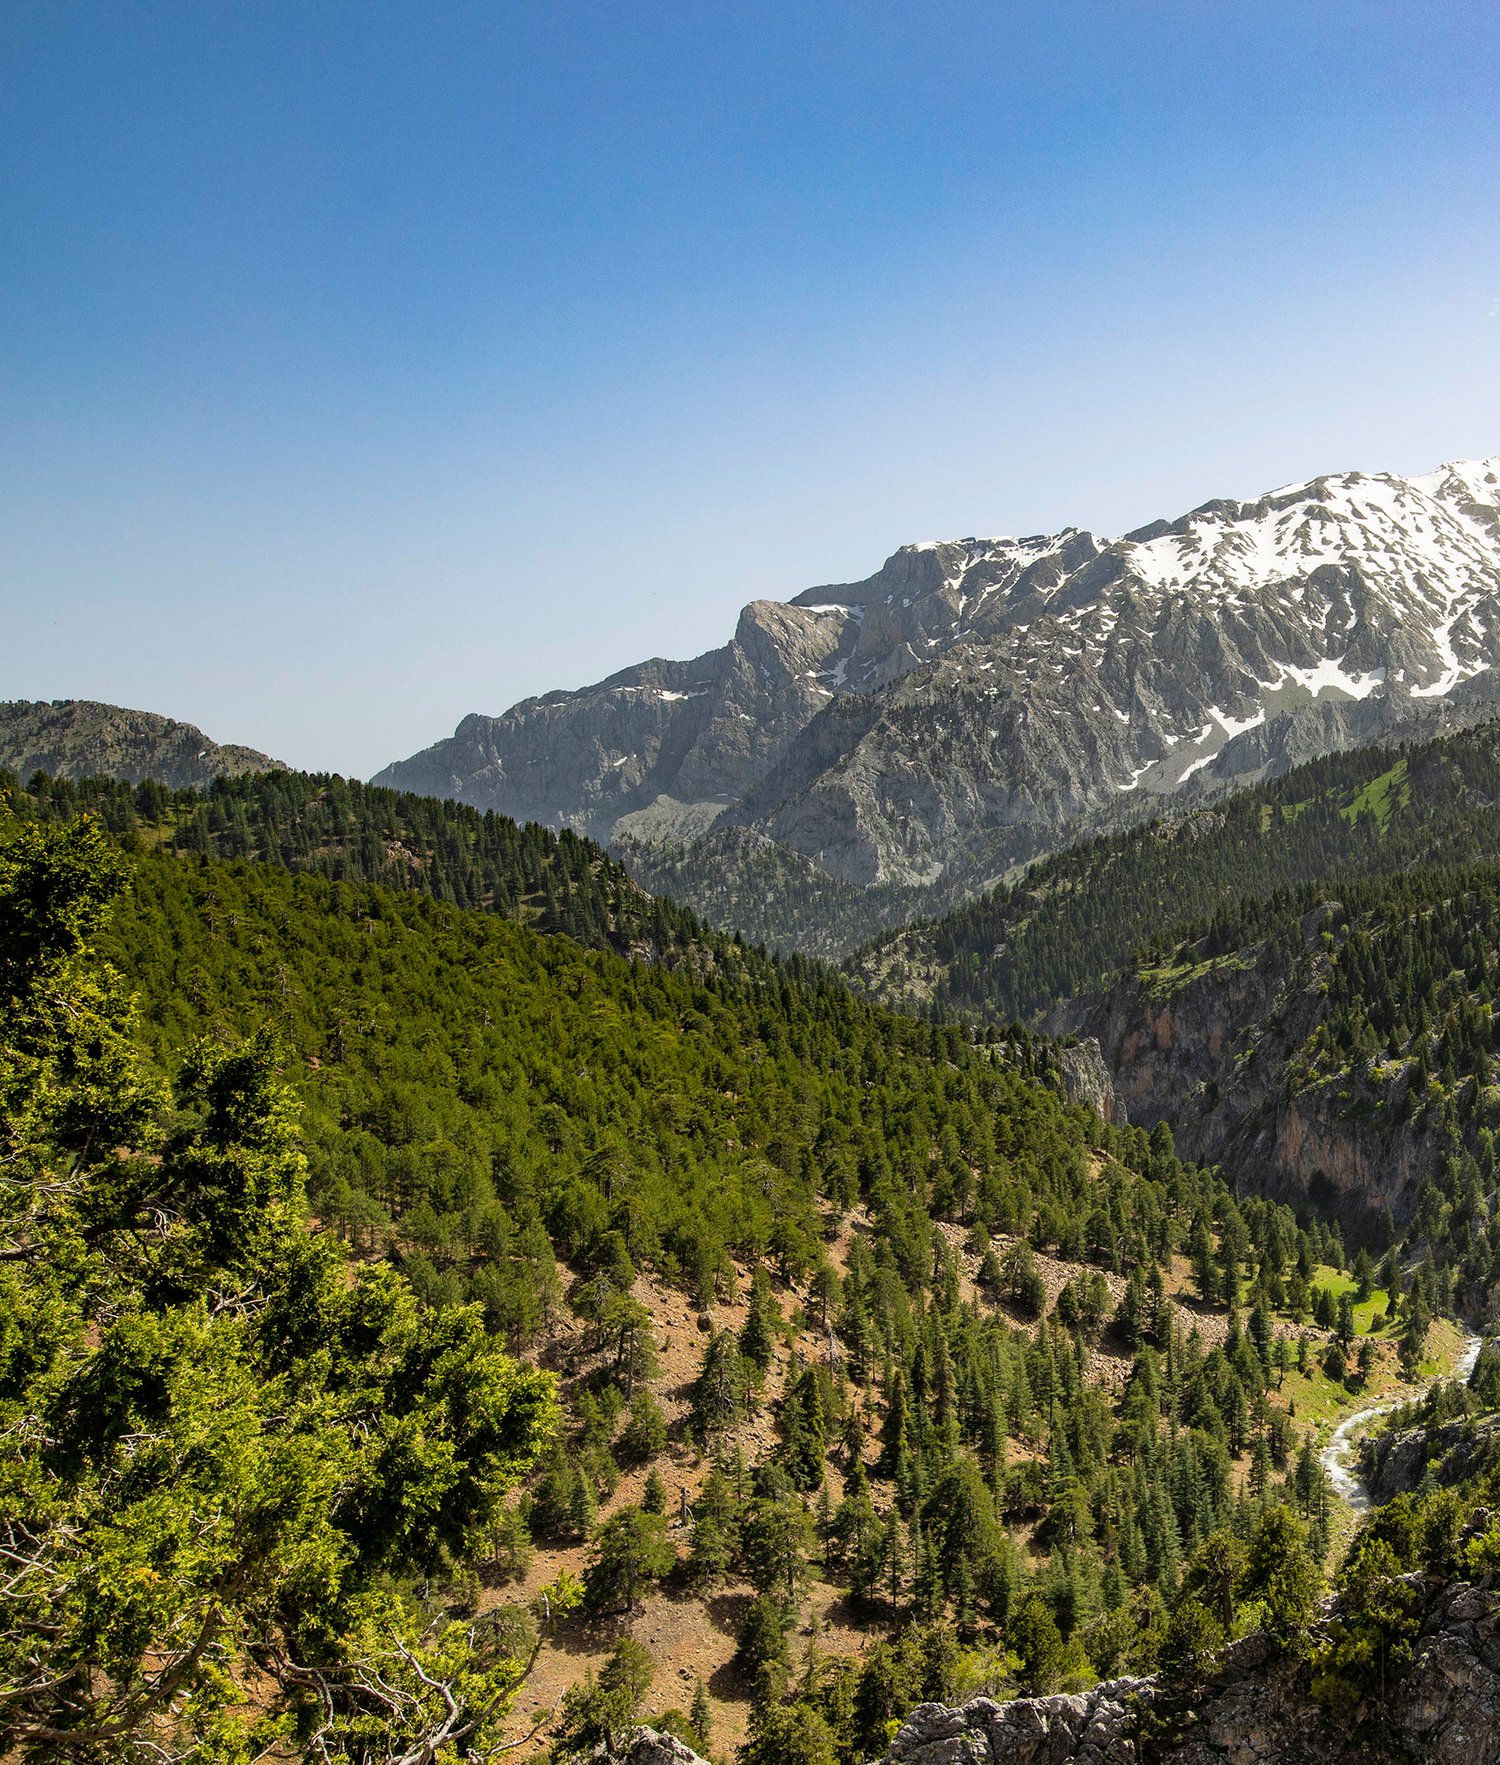
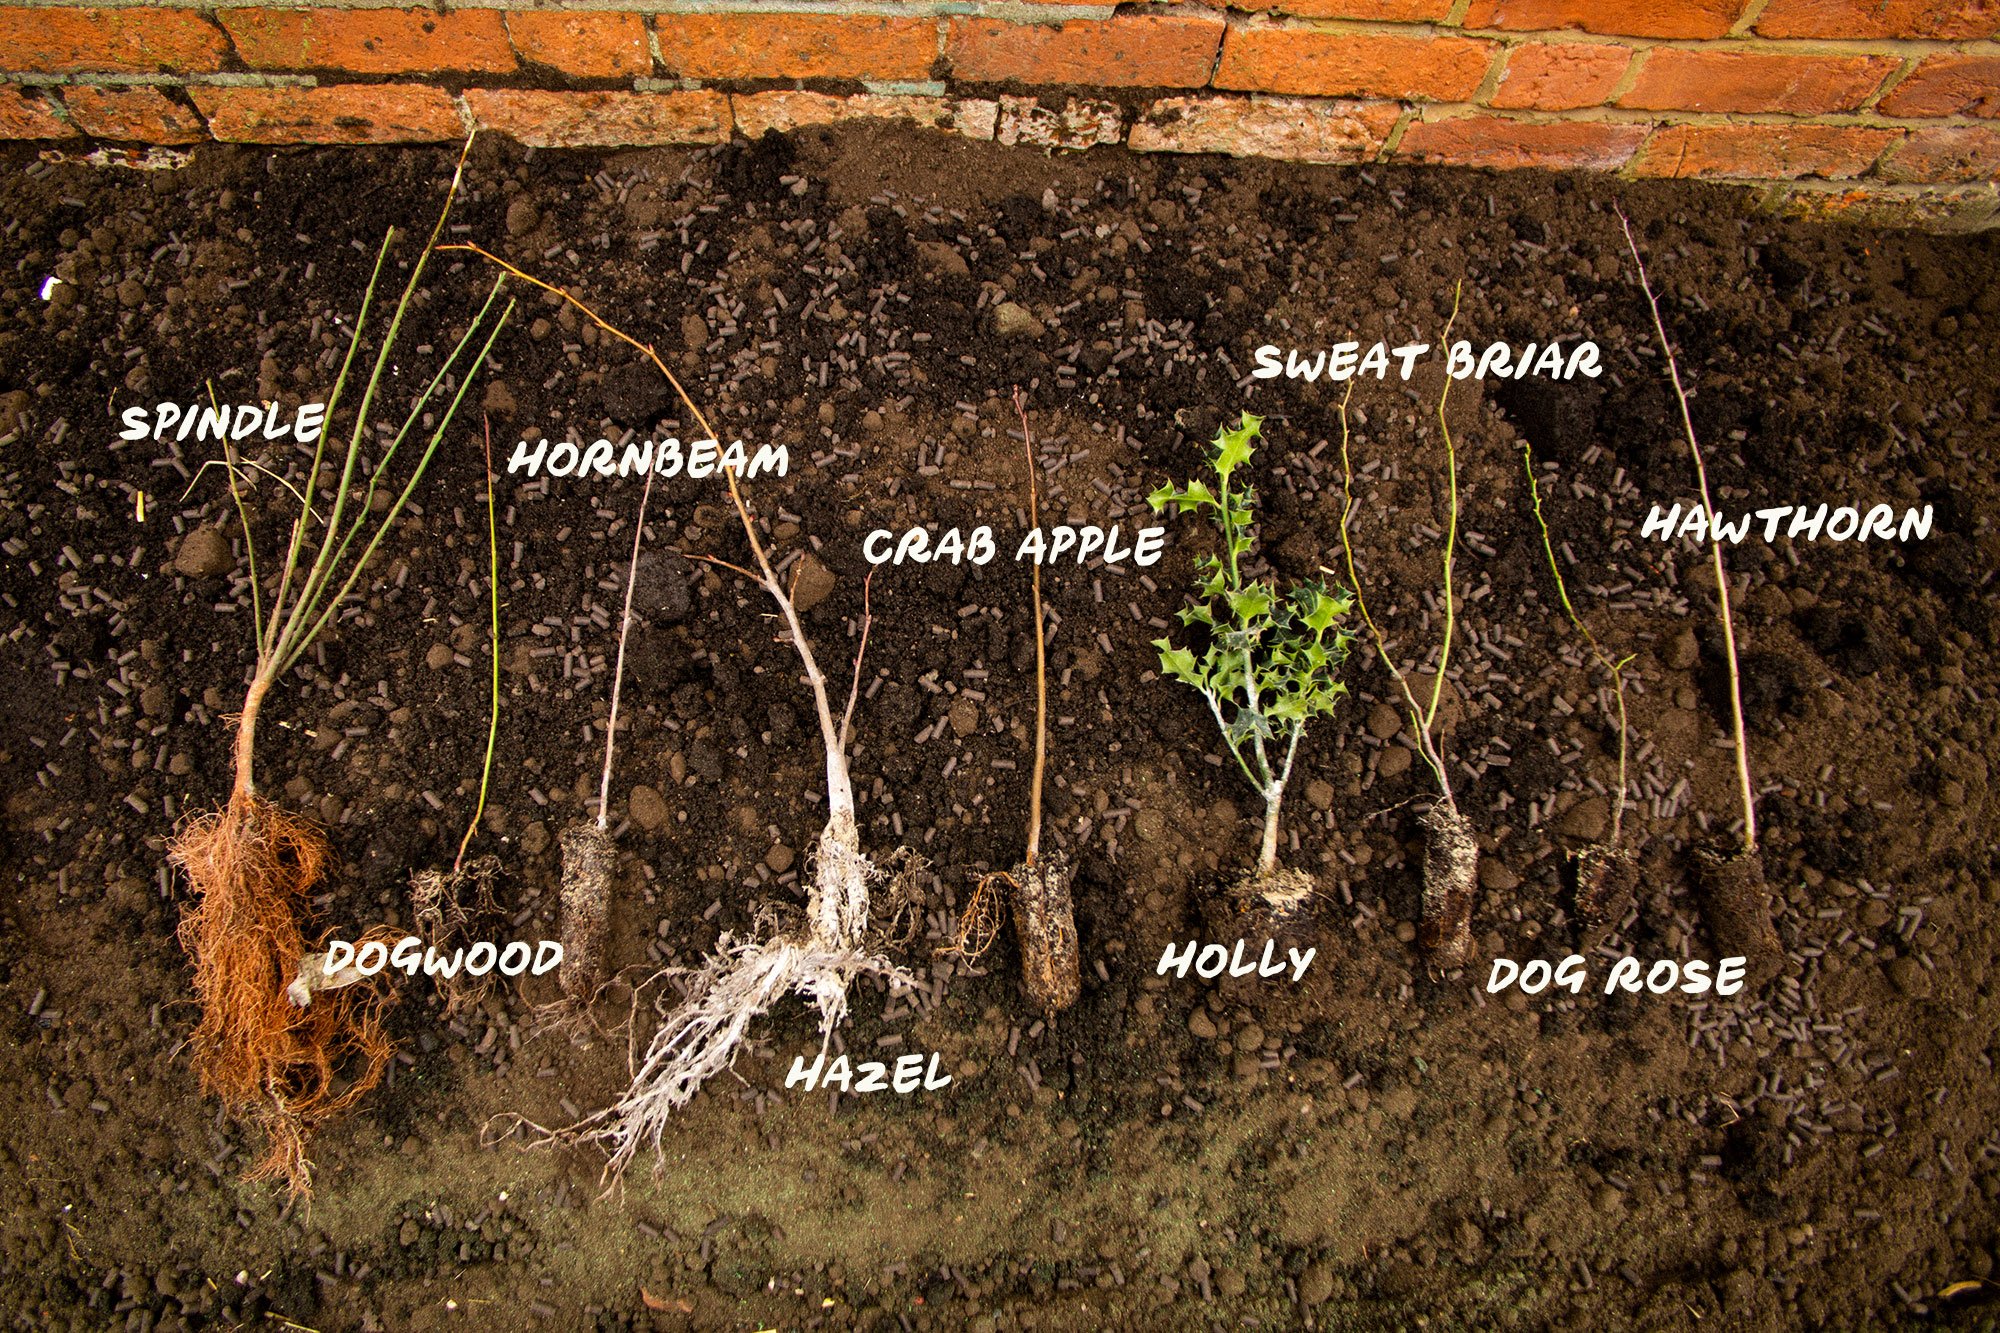
When planting a Miyawaki forest, the first step is to identify the native vegetation best suited to the area being planted, termed Potential Natural Vegetation. To establish this, our forest makers do intensive research, often involving the indigenous community. They look to see what is growing locally, in protected areas or ancient old-growth forests.
Forests are multi-layered, and as the Miyawaki method mirrors nature, we identify and plant four layers of vegetation, building a resilient green wall of canopy trees, trees, sub-trees and shrubs. We select up to 40 different species to create balance and maximise density.
2) Preparing the soil:
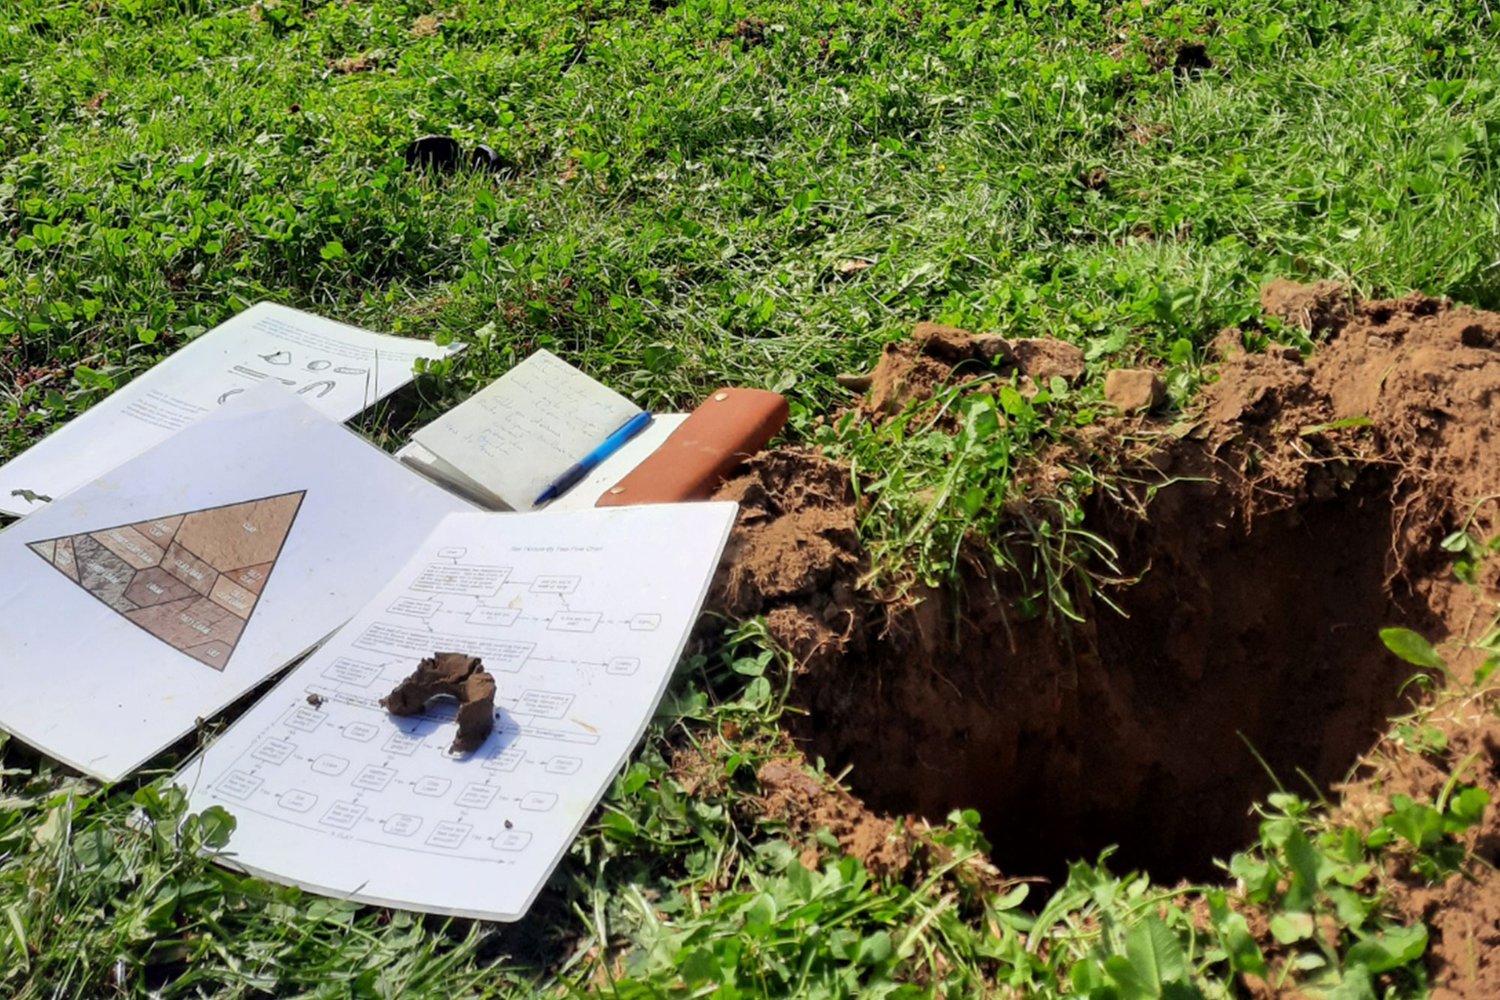
The second step when planting a Miyawaki forest is soil preparation. Since SUGi focuses on rewilding nature-deprived areas, the soil is often degraded, compacted, waterlogged or bacteria-dominant. However, trees need fungi-dominant, soft and crumbly soil, so their roots can establish faster and have better access to nutrients.
Our forest makers work the soil once to restore the missing biology and put it on the path to becoming oxygenated, fertile and self-sustaining. Compost tea is also added to the earth as it’s turned; this contains strains of beneficial fungi (known to interact with the specific tree species) and a stimulant, such as molasses or liquid seaweed, to give the fungi fuel to grow.

3) Planting the saplings:
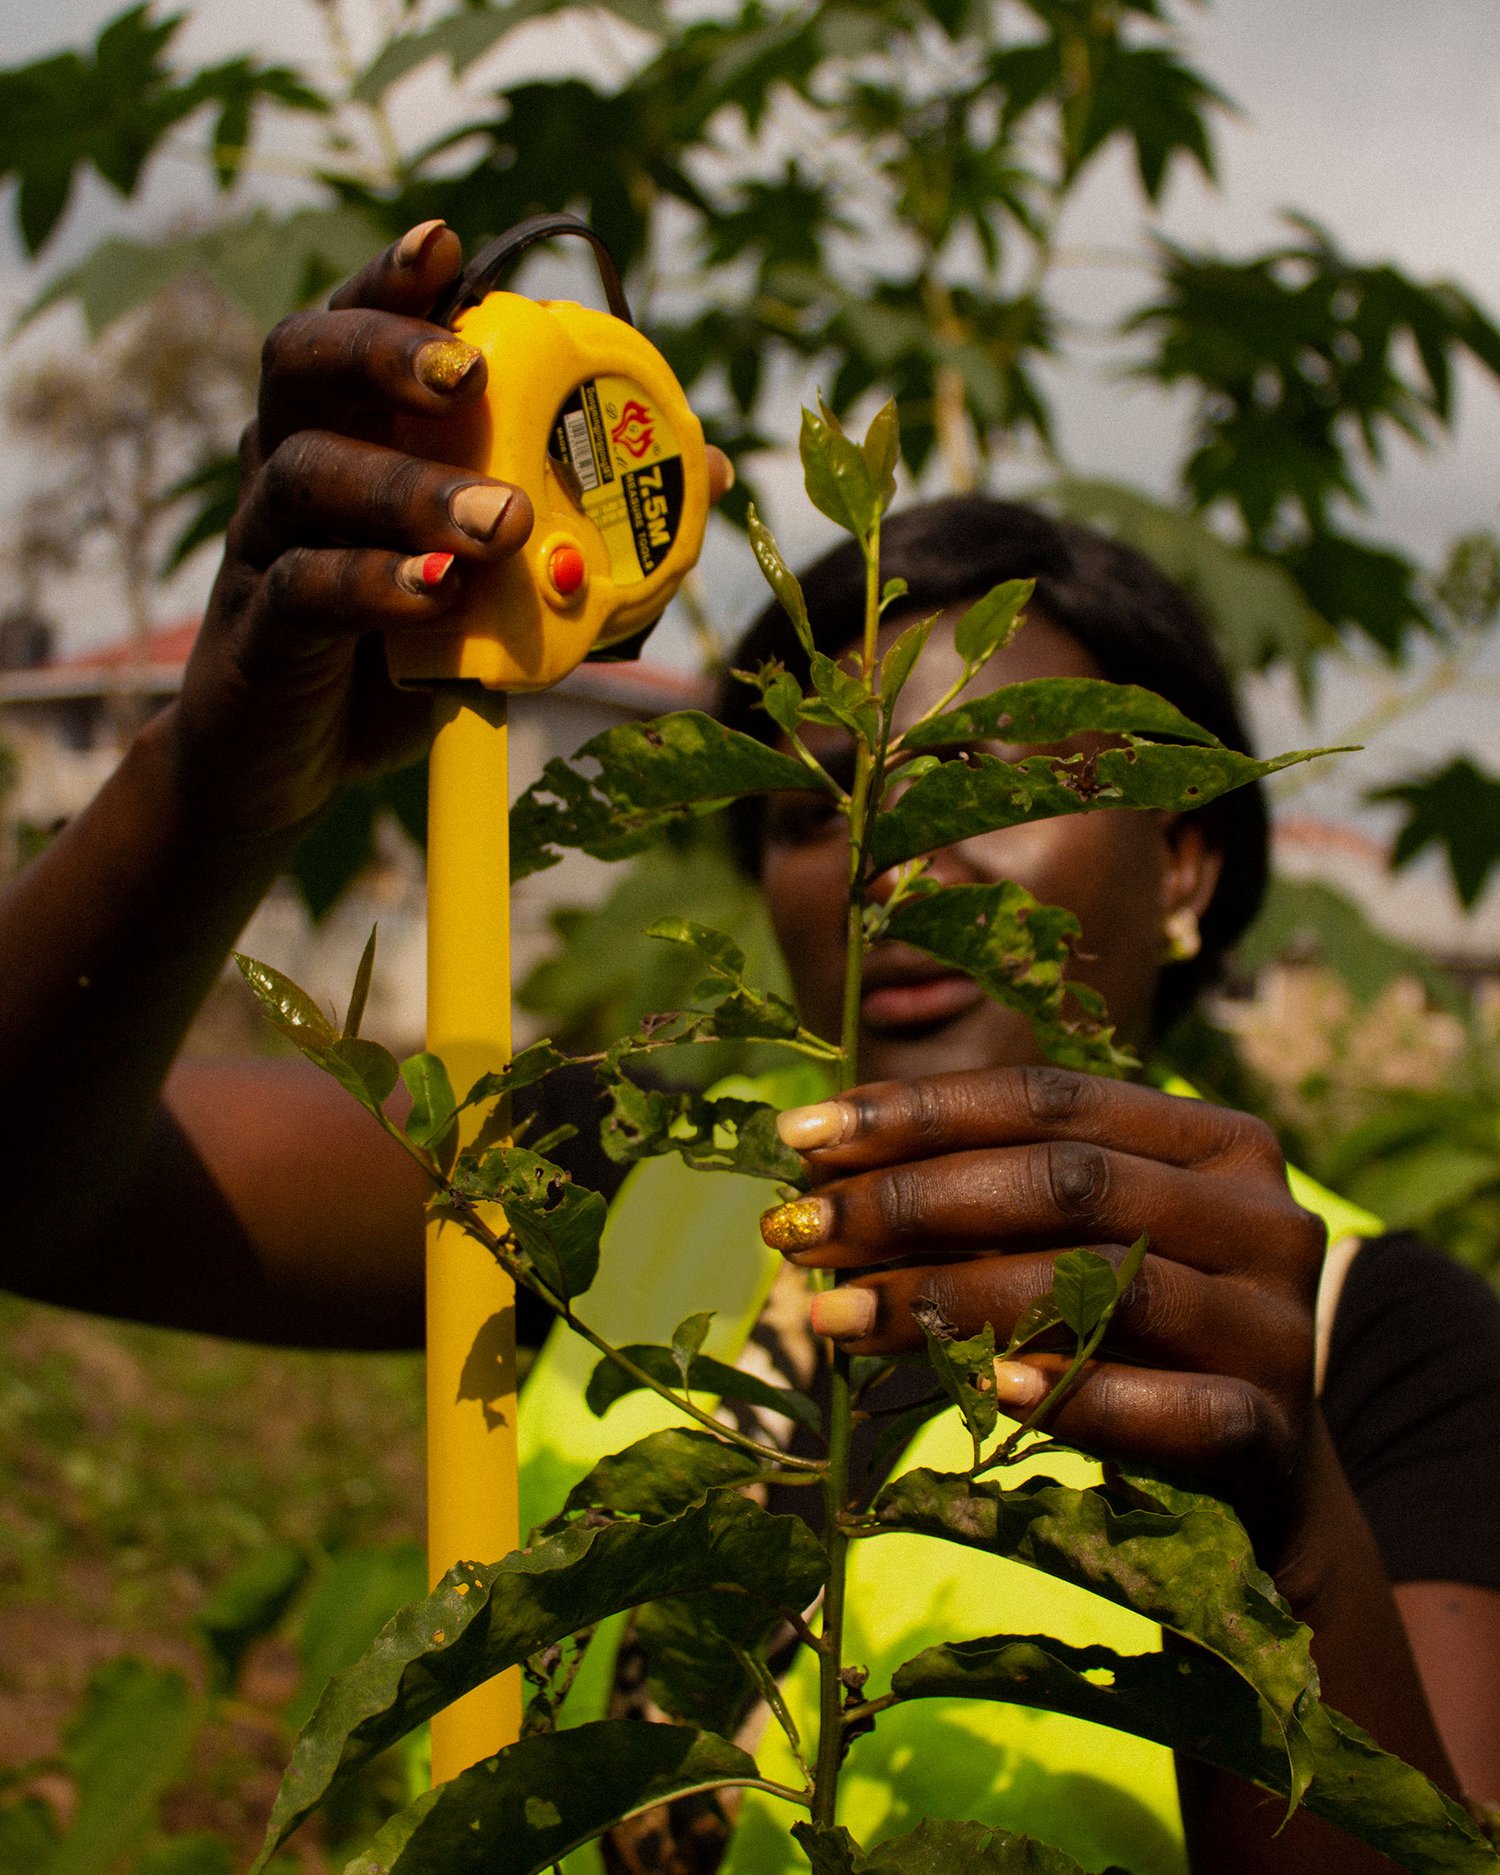
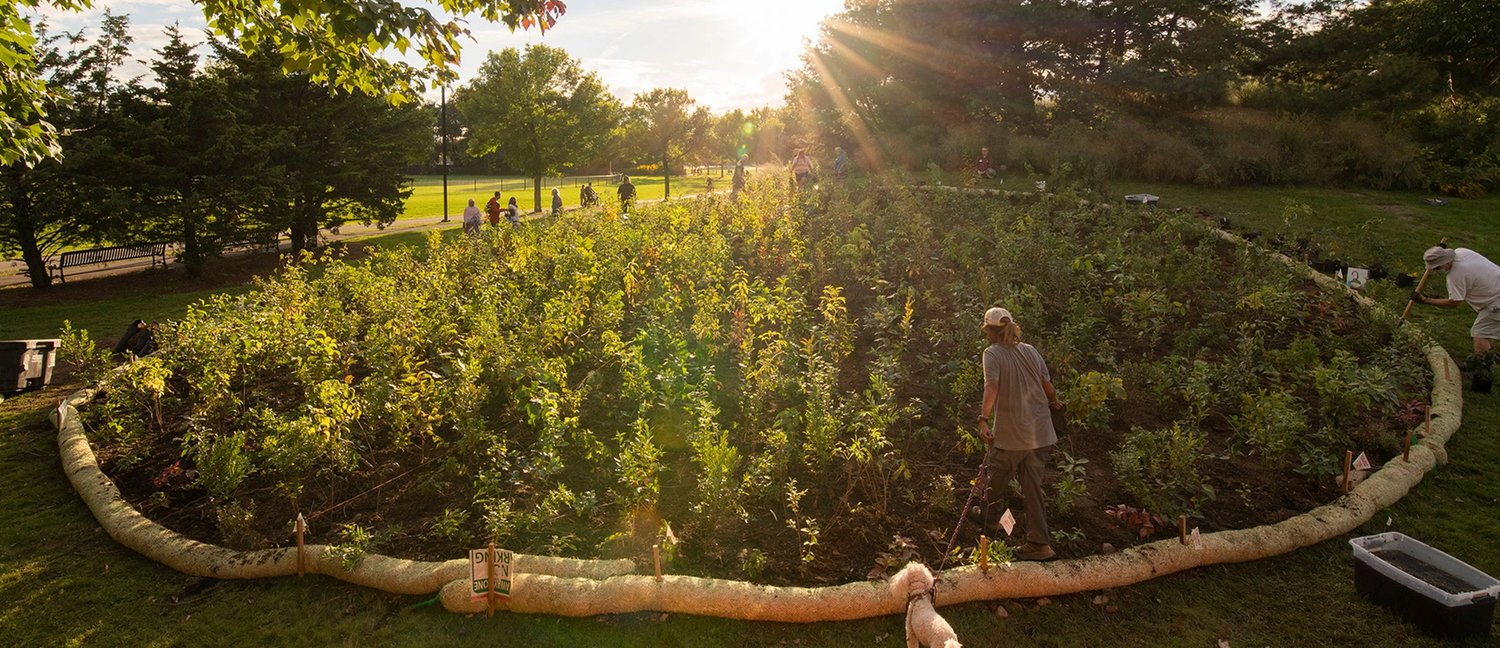
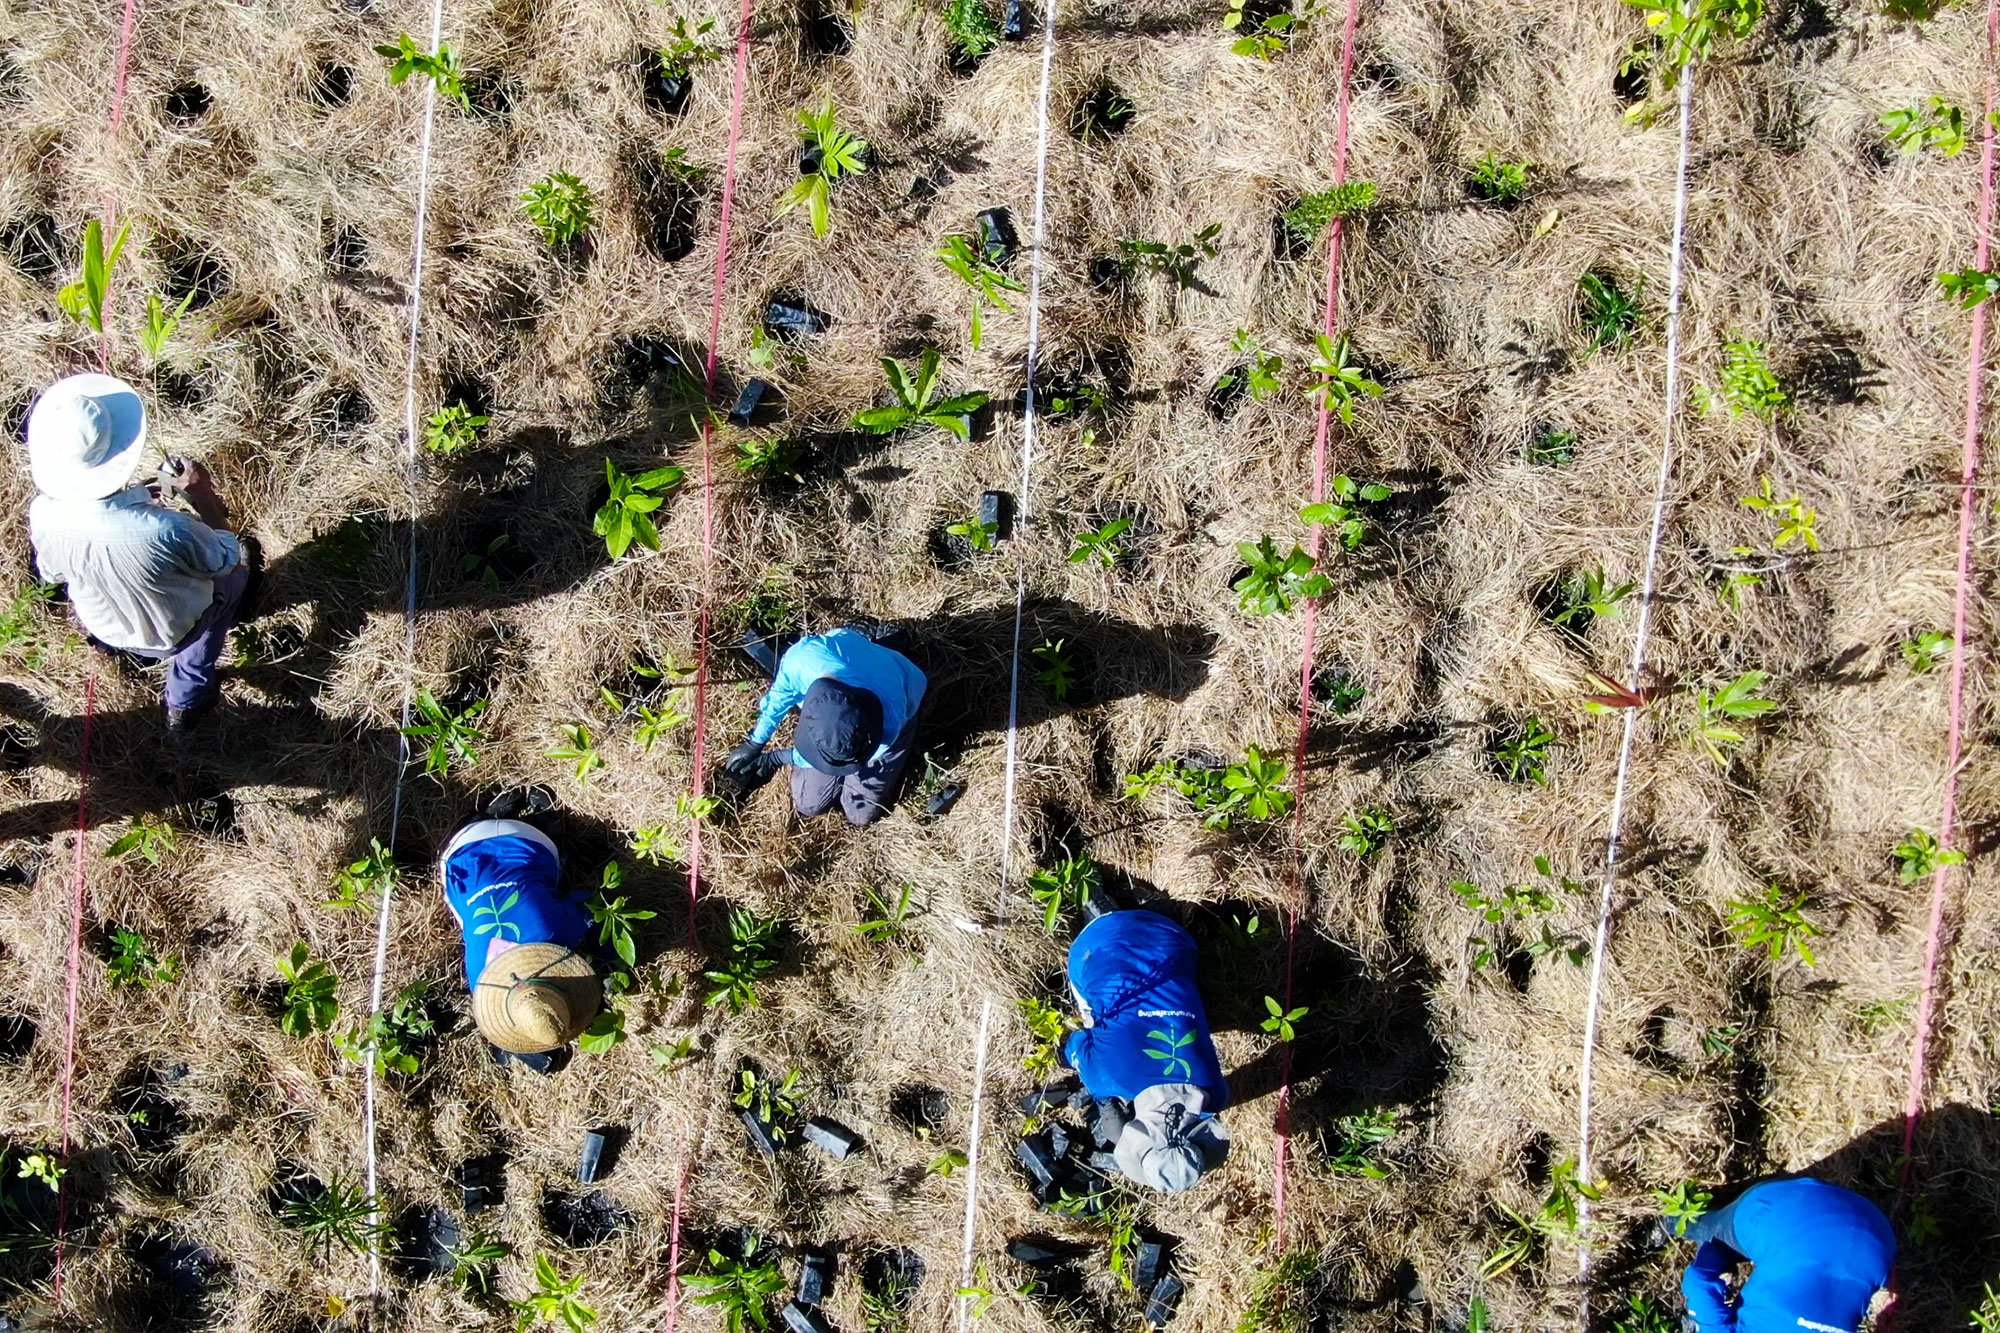
Once the soil is prepared, SUGi Pocket Forests are planted with the help of the community. We plant three to four saplings per square metre in a random manner that mirrors how natural forests grow. We choose to plant young saplings, as they’re more adaptable and can form symbiotic relationships with mycorrhizal fungi in the soil far quicker than an older tree.
The denseness of a Miyawaki forest isn’t just great for creating biodiversity; it also increases carbon capture, pollution filtration and produces an area more resilient to flooding and landslides. Increased canopy cover reduces the amount of rainfall that hits the ground, increases shade and promotes cooling. Not to mention the green-wall effect of the multi-layered trees, which acts as a shield if there’s ever a storm surge.
4) Maintenance:
Once you’ve planted the saplings, the final step is to apply a compost tea and mulch heavily using straw. The mulch protects the soil and retains moisture. Species such as earthworms, beetles and other insects feed from the top-down, building soil fertility by pulling the mulch into the ground for it to be broken down by microbes.
As mulching helps the soil retain moisture, you do not have to do as much watering. The more fertile the soil, the more water it holds.
Survival rates should always be above 80% and often above 90% - if the projects are carried out properly. Normally after two to three years the forests are 100% self-sustaining and handed over to nature.
